ETH-, PIA- or Non PIA-Printer?
Please check the printer list.
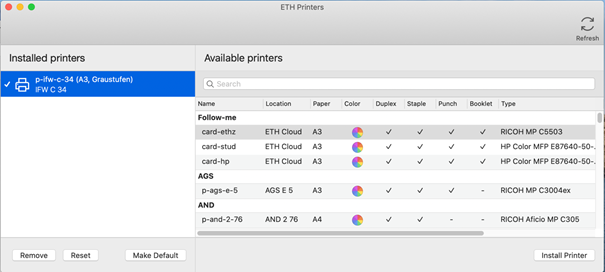
ETH - Printer Please note: Printing a page in color costs the ETH 6 Rp/page, while a page in Black&White costs 1 Rp/page only!! Please also have a look at print.ethz.ch There, you can make a webprint and also check your printing costs, even the environmental costs of your print activity!In Mac OSX, you can use the utility called “ETH Printers” developed by the ISG D-HEST. If you are using a department computer, this application may already be installed under “Utilities”. If not, ask about it. On private computers, you can download the program using the following link: ETH Printers.pkg More information you will find in the IT Kowlegbase – Printing
Instructions
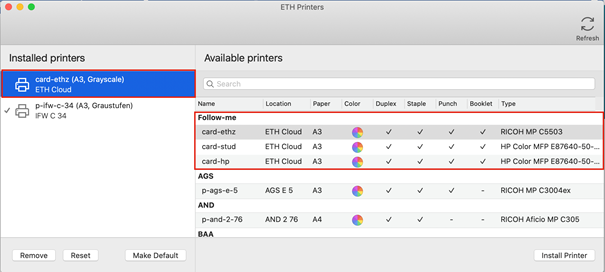
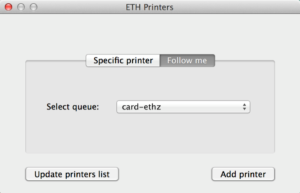
Specific printer
Follow me printing
You will now have a printer for the cloud printing system. You can go to any ETH printer and release your print job(s) using your ETH ID card.
For Nashuatec printers:Default modes are: color – black and white; no staples and no punches
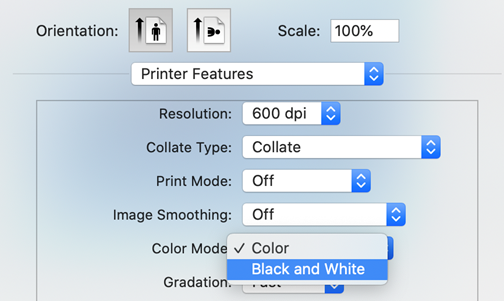
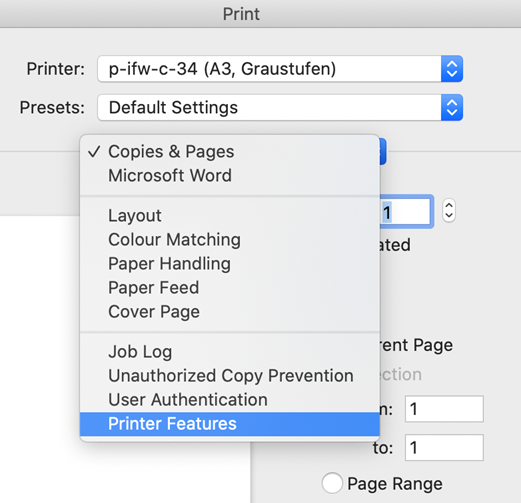
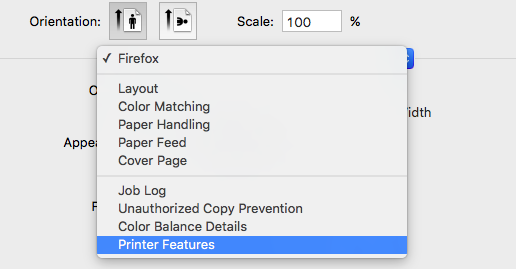
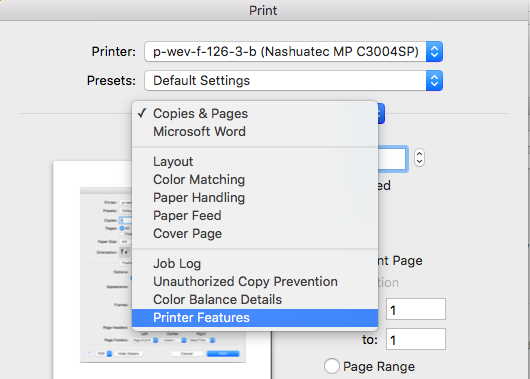
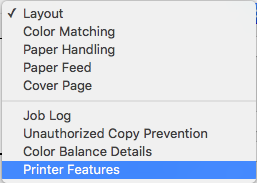
Webprinting – Firefox and SafariChoose below the “Orientation” in the dropdown menu “Printer Features”
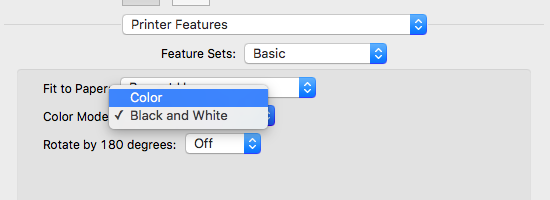
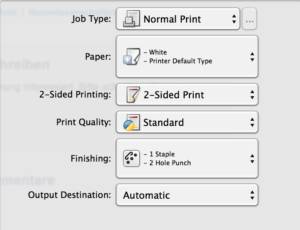
In the dropdown menu of the “Printer Features” you can set different printer options. E. g. with “Basic” you have the option between color printing or black-white printing.
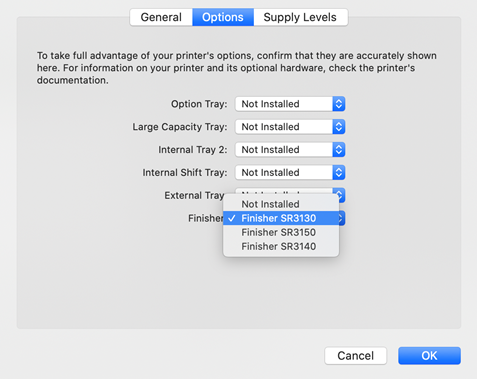
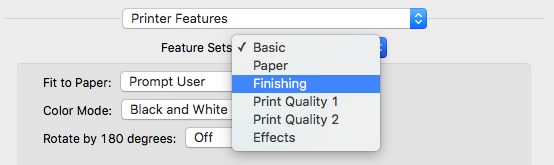
If you want staples and/or punches, go to the options “Staple” and “Punch”.
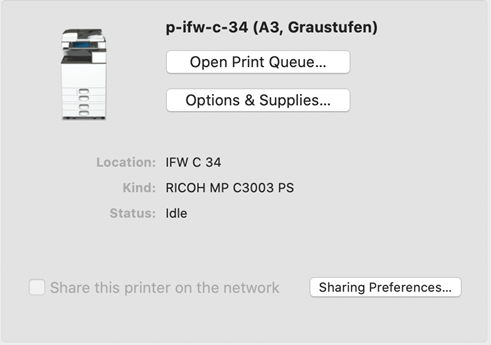
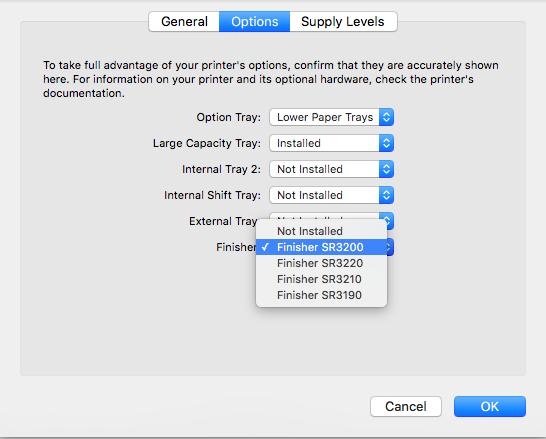
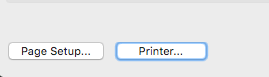
On the new pop-up windows go to Options. Select the “Finisher SR3130” in the dropdown menu for the finishers and click “OK”.
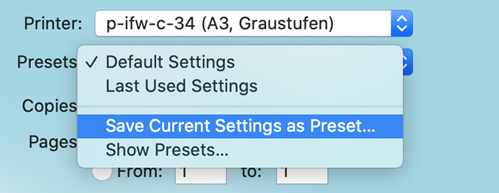
In order to make a quick save of the set modes, choose in the dropdown menu right to “Presets” the option “Save Current Settings as Preset”.
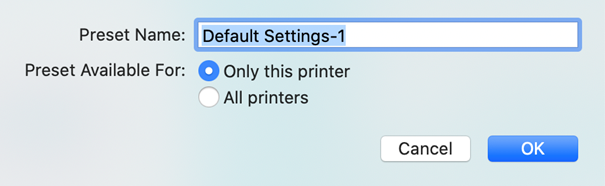
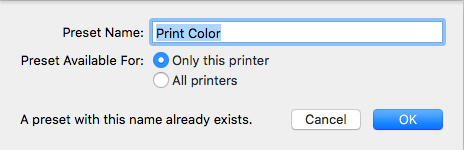
Enter a name how you want to call this set of settings and click “OK”.
Now it should appear in the dropdown menu of “Presets”
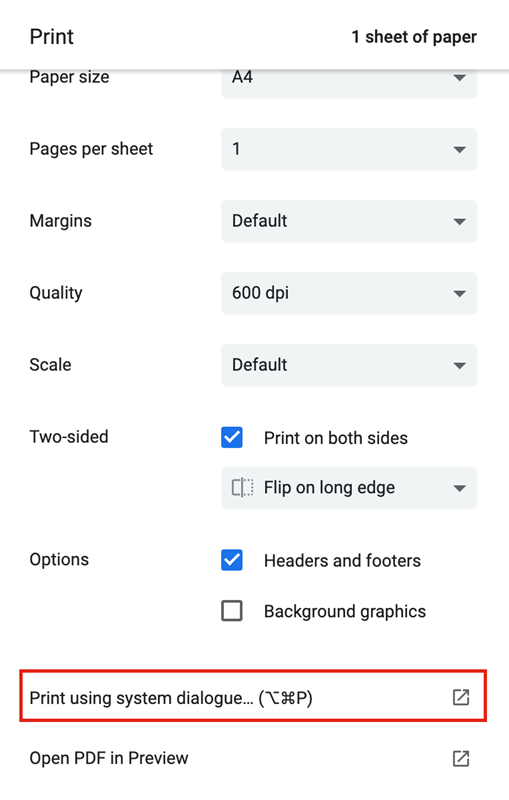
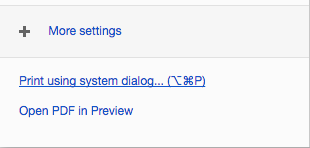
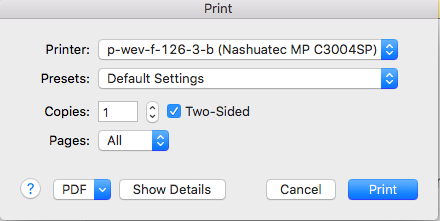
Webprinting – ChromeGo to the print options by pressing cmd + P
Select your Presets
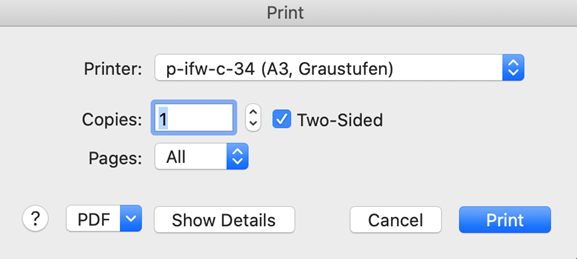
If you do not have any presets, click on “Show Details”.
WordIf you already set a personal preset setting xou can select it in the “Preeset” dropdown menu.
|

|
PIA - Printer (old) Please note: Printing a page in color costs the ETH 6 Rp/page, while a page in Black&White costs 1 Rp/page only!! Please also have a look at print.ethz.ch There, you can make a webprint and also check your printing costs, even the environmental costs of your print activity! In Mac OSX, you can use the utility called “ETH Printers” developed by the ISG D-HEST. If you are using a department computer, this application may already be installed under “Utilities”. If not, ask about it. On private computers, you can download the program using the following links: ETH_Printers_and_Drivers Instructions
Specific printer
Follow me printing
For Nashuatec printers:Default modes are: colour – black and white; no staples and no punches Webprinting – Firefox and Safari
In the dropdown menu of the “Feature Sets” you can set different printer options. E.g. with “Basic” you have the option to choose between color printing or black-white printing.
If you can not select any of the options for the staples or punches, you need to add a finisher to the printer.
Webprinting – Chrome
WordIf you already set a personal preset setting you can select it in the “Preset” dropdown menu.
You can proceed the same way as explained in the “Webprinting – Firefox and Safari” description. Adobe Acrobat Pro
For Xerox printers
|

|
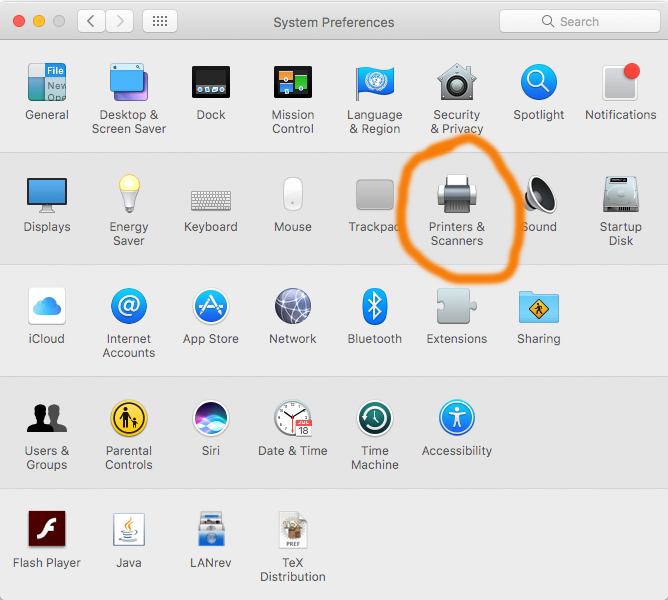
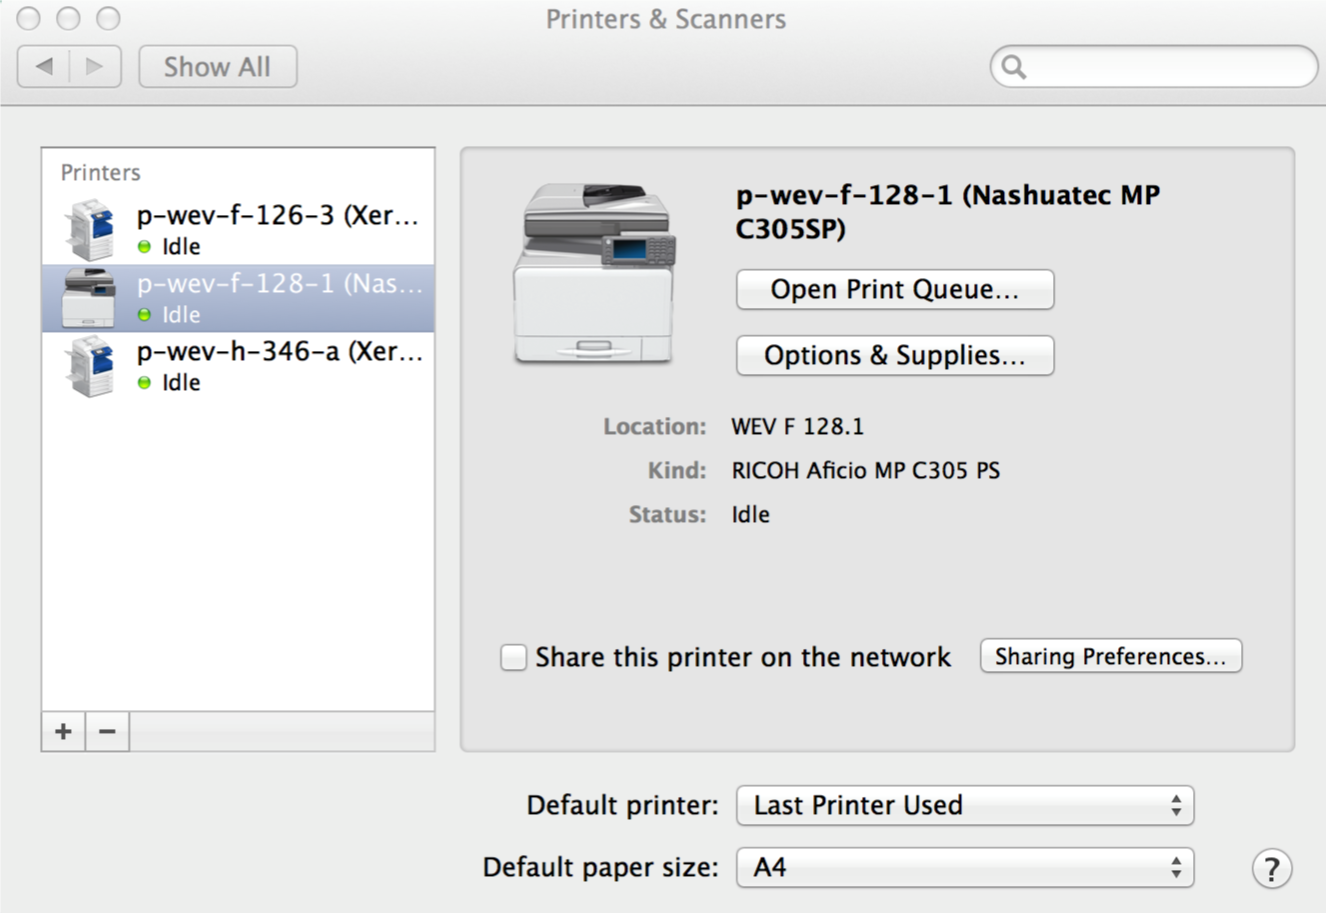
Non PIA-Printer Click on the Apple icon in the top left portion of the screen.
When the Option menu pops up, choose the Printers & Scanners icon.
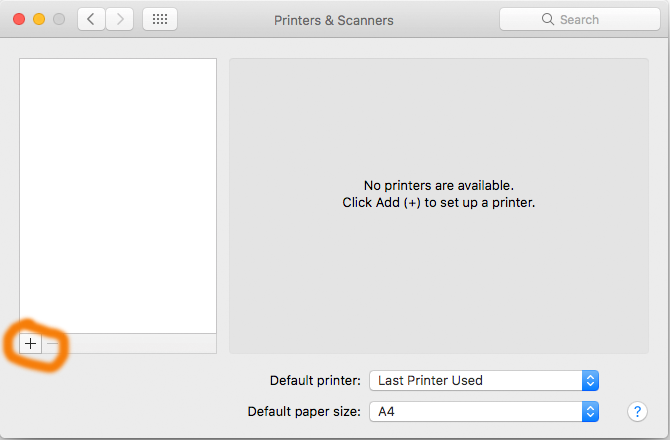
Click on the + (plus) icon. This opens a window ‘Add Printer’.
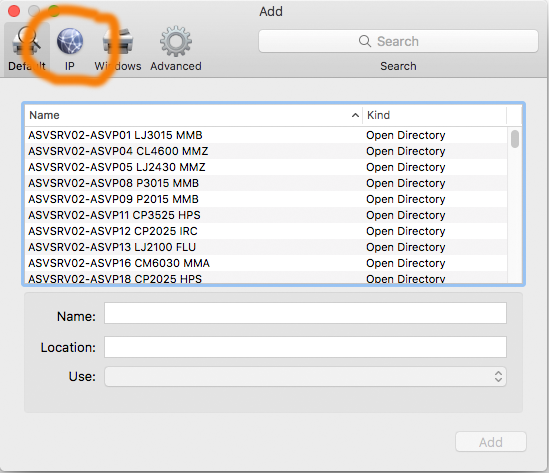
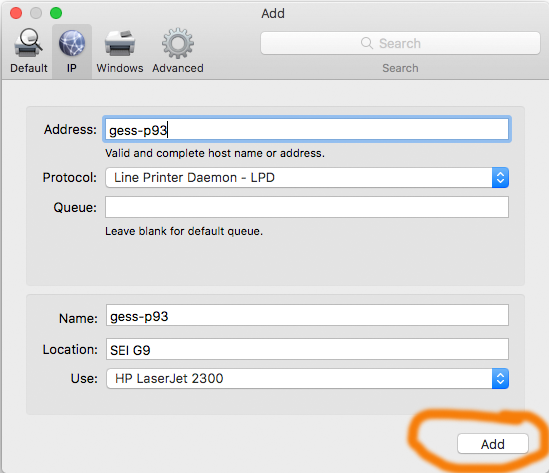
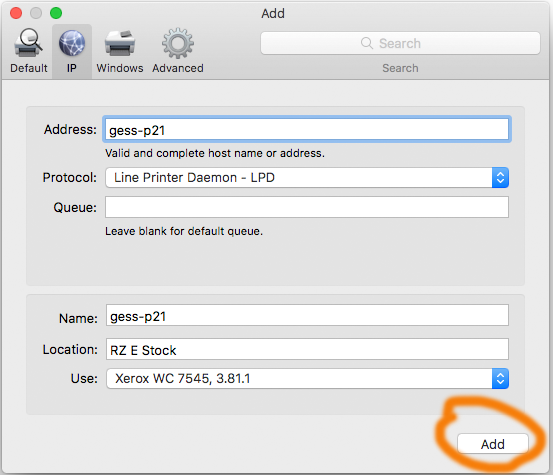
Click the IP button.
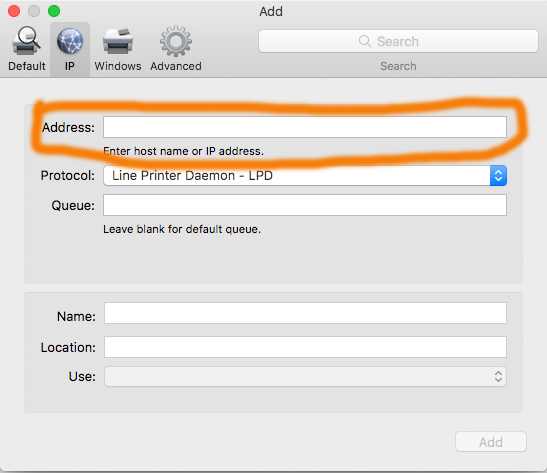
Enter the name of the printer you found in the printer list into the fiels Address.
If the printer driver was automatically found click Add
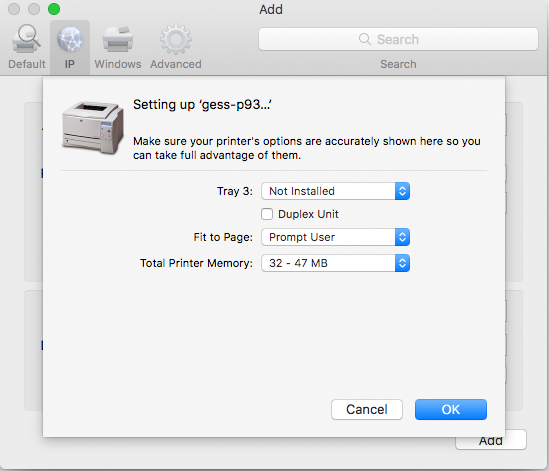
Check the settings and click ok.
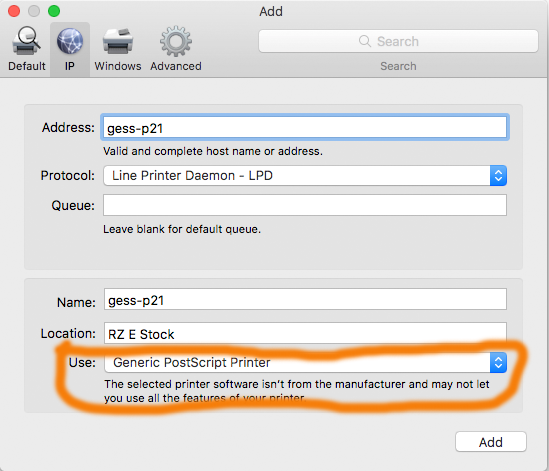
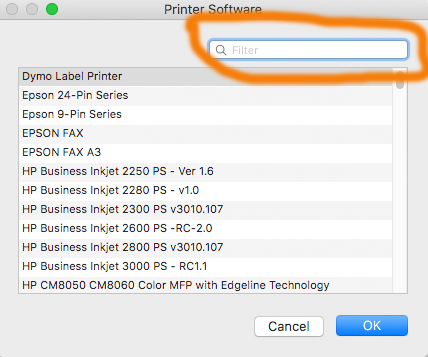
If the appropriate driver can not be found, Click on “Generic PostScript Printer”
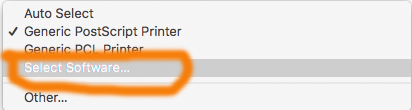
and choose “Select Software…”
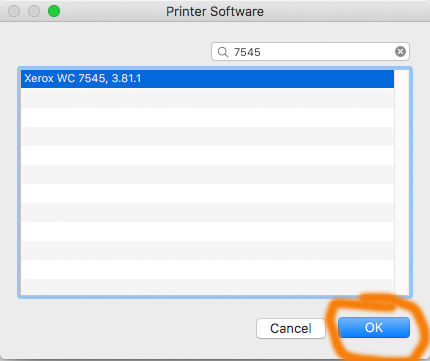
Enter a part of the driver name found in the printer list
click ok if a suitable driver is listed
Click add |